Well there doesn’t seem to be much that feels easy at the moment.
In the midst of Covid-19 and a concerted effort to curb its spread, we find ourselves staying at home. Like many of you I am attempting to work and home school children simultaneously! No easy feat.
But even with so many things feeling challenging, there are still positives to be found. One of them being you can unapologetically work on your home! Improving it, updating it, loving on it.
If you’re lacking inspiration on where to start, can I recommend something?
Rearranging furniture! There is nothing quite so satisfying and revitalizing as the simple task of moving some things around. It can quite transform your space, and your mood at the same time.

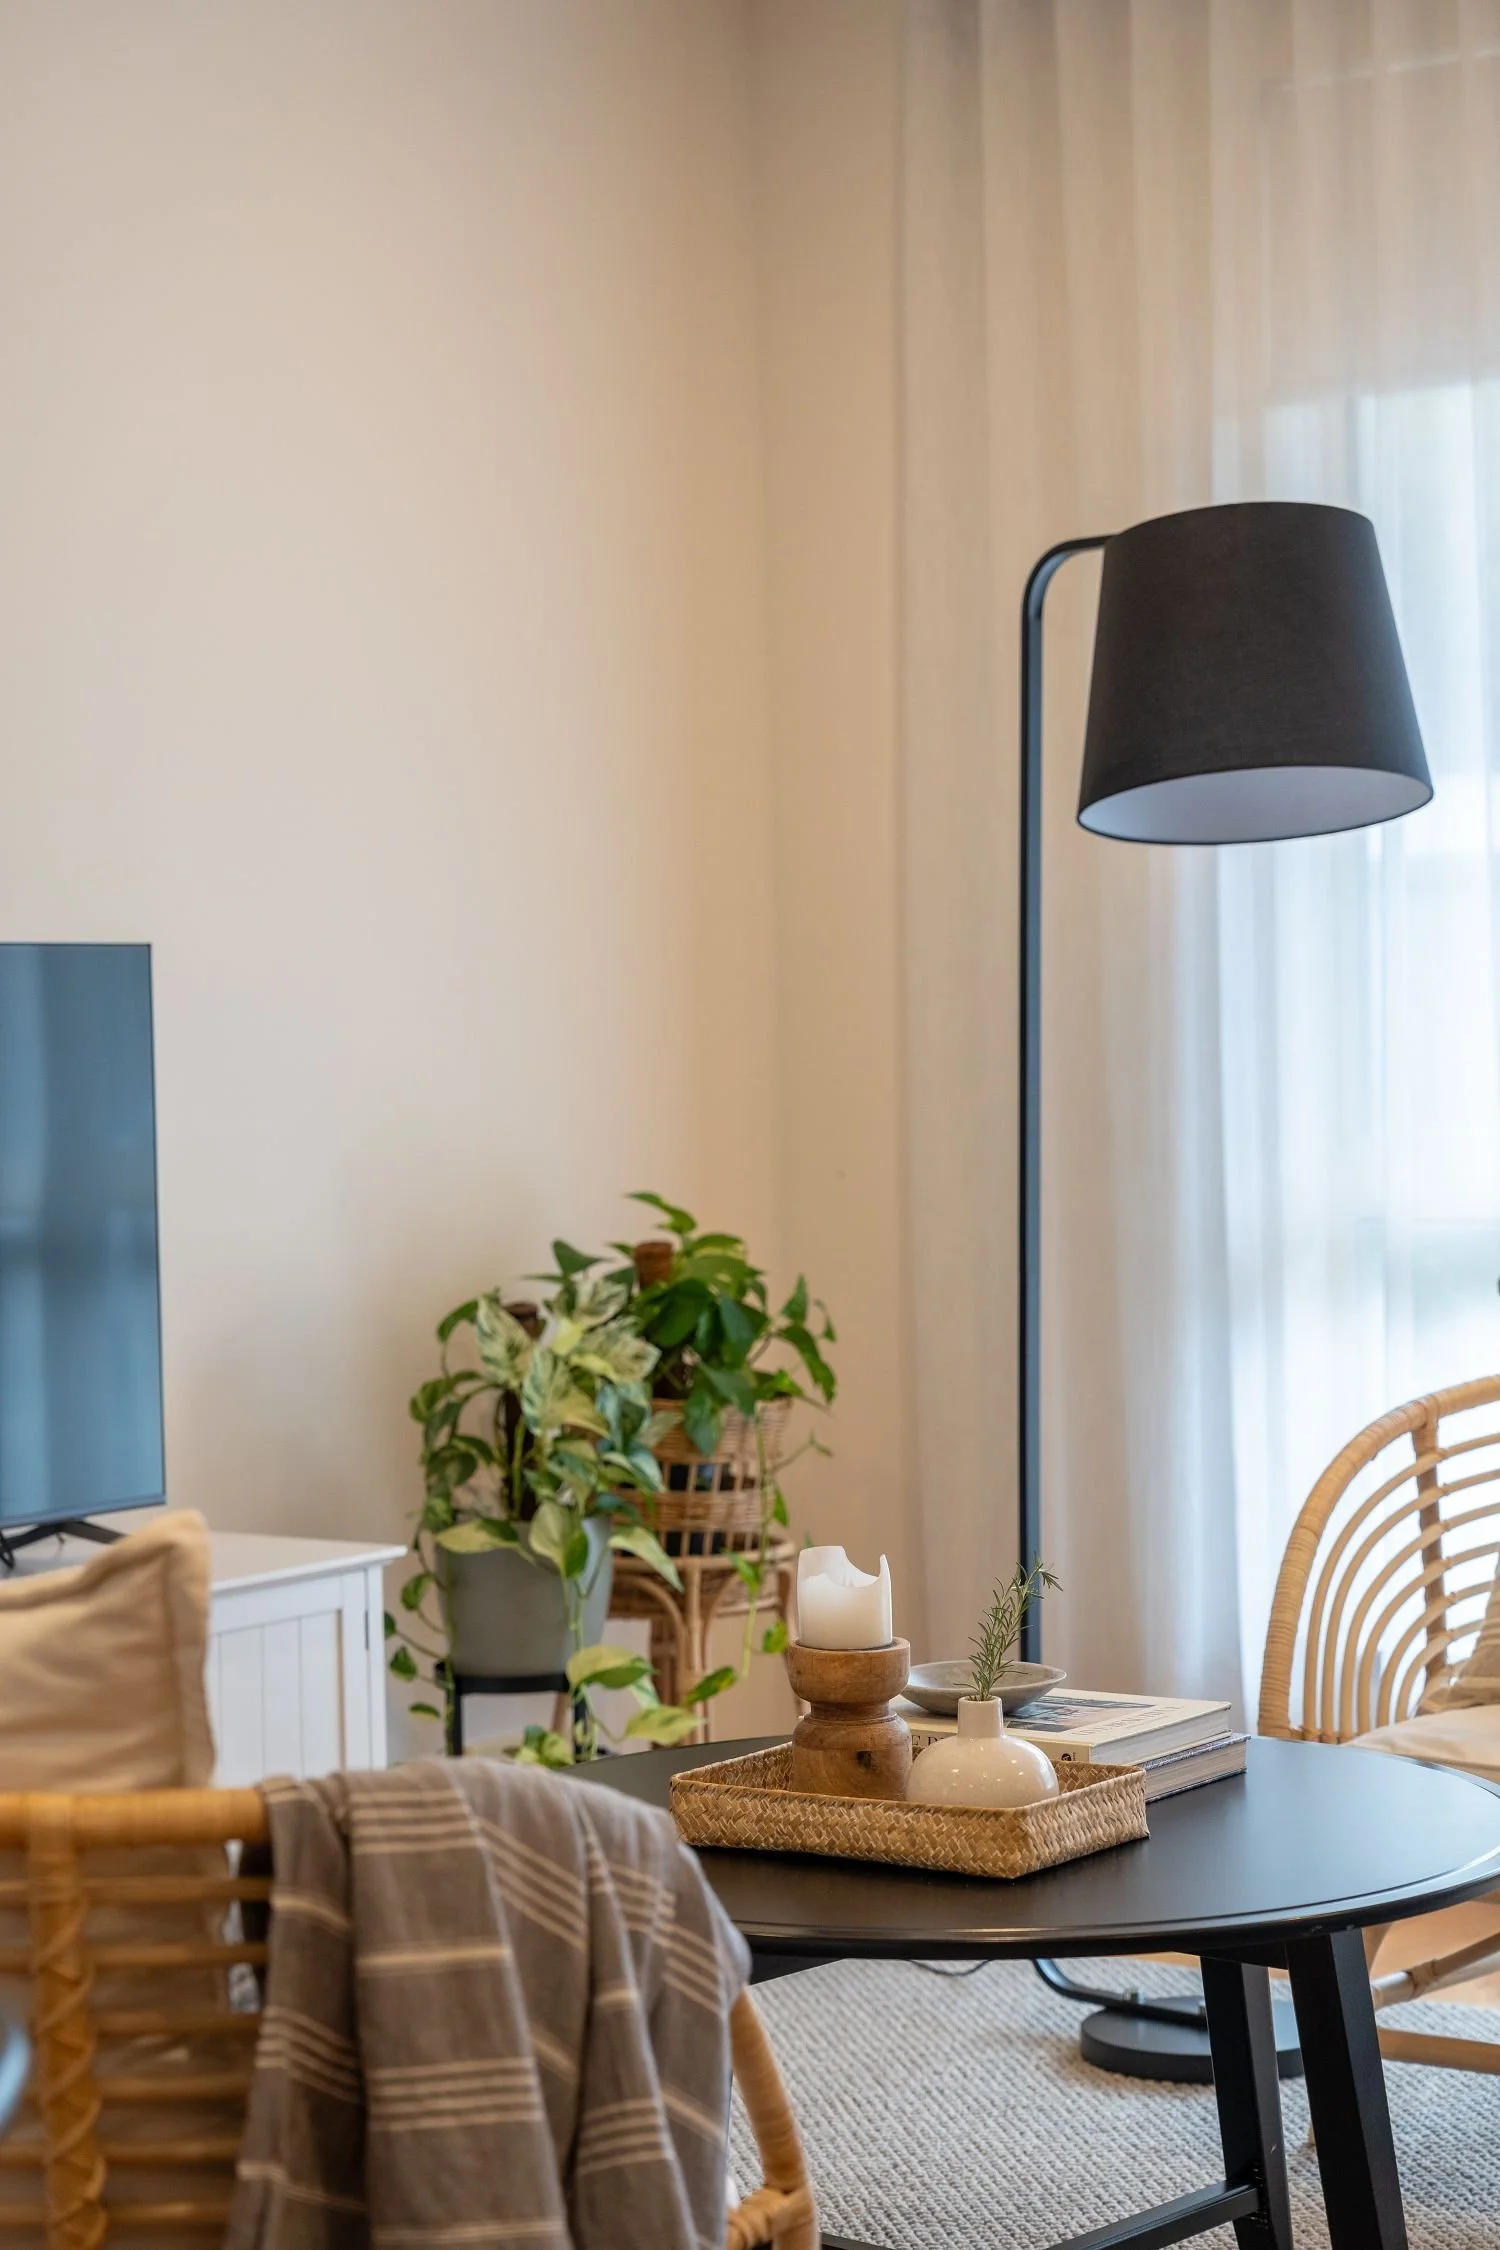
I was inspired this week to make some small tweaks in my home. Though I only moved a few things around it really changed the feel of areas of my home that weren’t working so well. Here I created more of a designated entry way with a mirror, a place for some indoor plants, books and magazines.
If you feel inspired I’ve put together 5 simple tips to show you all you need to know to rearrange furniture easily and simply. May they be the reassurance you need.
1. Tackle what doesn’t feel right.
I’m going to get all touchy-feely on you, but if you have areas in your home that just don’t feel right then trust your feelings and fix them. Have a walk around your home and choose 1-2 areas that have always felt a bit off. These are the areas you should focus on. These are the places in your home that you will yield the biggest results for your efforts. You want to get the biggest bang for your buck after all!
2. Get your inspiration, but don’t get stuck.
I know you are probably spending time on Pinterest anyway (especially if you love interiors and design), so make it count and research the types of rooms that you are wanting to rearrange. If it’s your lounge room you want to re-jig then spend 20 minutes specifically pinning lounge room images that resonate with your style or floorplan you’d like to try.
Be strict on your time limit here, as it will force you to stay on track and only pin what is relevant. Pay attention to how the furniture in these images are arranged, along with the room sizes. If Pinterest isn’t your bag you can look through interior magazines or jump on some design blogs. In all your inspiration finding remember that you don’t want to over plan. Getting started with some basic ideas of where you’re heading is a must – don’t get stuck in the planning phase.

Another angle of my new entry way showing a spacious and light-filled area. It’s become such a functional and beautiful space in my home.
3. Measure and tape.
Now we get down to the nitty gritty. It’s tape measure and masking tape time.
Once you have your inspirational images sorted it’s time to look realistically at your own space. Don’t feel overwhelmed or discouraged here. Your home may not look like that sun-drenched, gorgeous image you have on your Pinterest board, but that’s not really the point. Remember that your home is a reflection of you and any improvement you make to it is positive.
Ok, let’s get back on track. I find that measuring out the room I’m wanting to change is super helpful. Especially measure the furniture pieces currently in the space, and any others you hope to move into that room. If I know I want to move a large piece of furniture like a bed or sofa, then I will tape out its dimensions on the floor to check if it will fit (you can do this with the furniture still in its current position). This way you have confidence when it comes to moving things around.
You can get fancy and do a scaled drawing on graph paper of your room, and check out how your furniture might work best in 2D first. If you don’t have the perseverance for this, I recommend that you remove as much out of the room as you can before you start rearranging things. By removing all the small items you can get a much better sense of how the room needs to flow.

I used to have our bed in a different orientation but since moving it closer to the window, I am enjoying the beautiful morning light so much more.
4. Lights, camera, action.
Another helpful tip is to take photos of your space. By taking pictures of your room as it currently is you will be able to see clearly what needs to be changed. For some strange reason things seem a lot more noticeable in a photograph than in real life, so use this to your advantage.
Then when you are in the process of changing things up take more photos. These will help you see what areas of the room are working, and what parts need extra attention. All this being said, the aim here isn’t perfection. Remember a change is as good as a holiday.
5. Doorways are the great equalisers.
This tip is a seemingly small thing, but has brought furniture rearranging endeavors to a standstill. Remember to measure your doorways and staircases before you move any mammoth furniture pieces. You know that sick feeling in your stomach when you can’t shove the sofa through the doorway? It’s that scenario I’d like to save you from. I want to see you succeed and not trip at the finish line, so don’t overlook this one!
So, there you have it, my easy tips to making rearranging furniture doable and successful.
It’s not as hard as it seems and you’ll feel amazing once you make it happen. If you decide to try these tips out I’d love to hear from you and see pictures of the finished results!
Even with my tips if this sounds like something you don’t want to tackle alone then perhaps you’d benefit from a virtual design consultation. I can help you with the best way to rearrange your furniture so your spaces function and feel how you need them to, and yes we can do this together online (thanks to Zoom and Facetime).


Here’s an example of a floorplan for an outside deck area I’ve recently helped a client with, along with a moodboard to show the sort of furniture sizes and style that would work best. If this is something you’d like help with, email me at bec@designrelease.com.au


This recently completed historic project in Strathalbyn is filled with character. Learn about the design changes that were made to make this a truely beautiful family home.